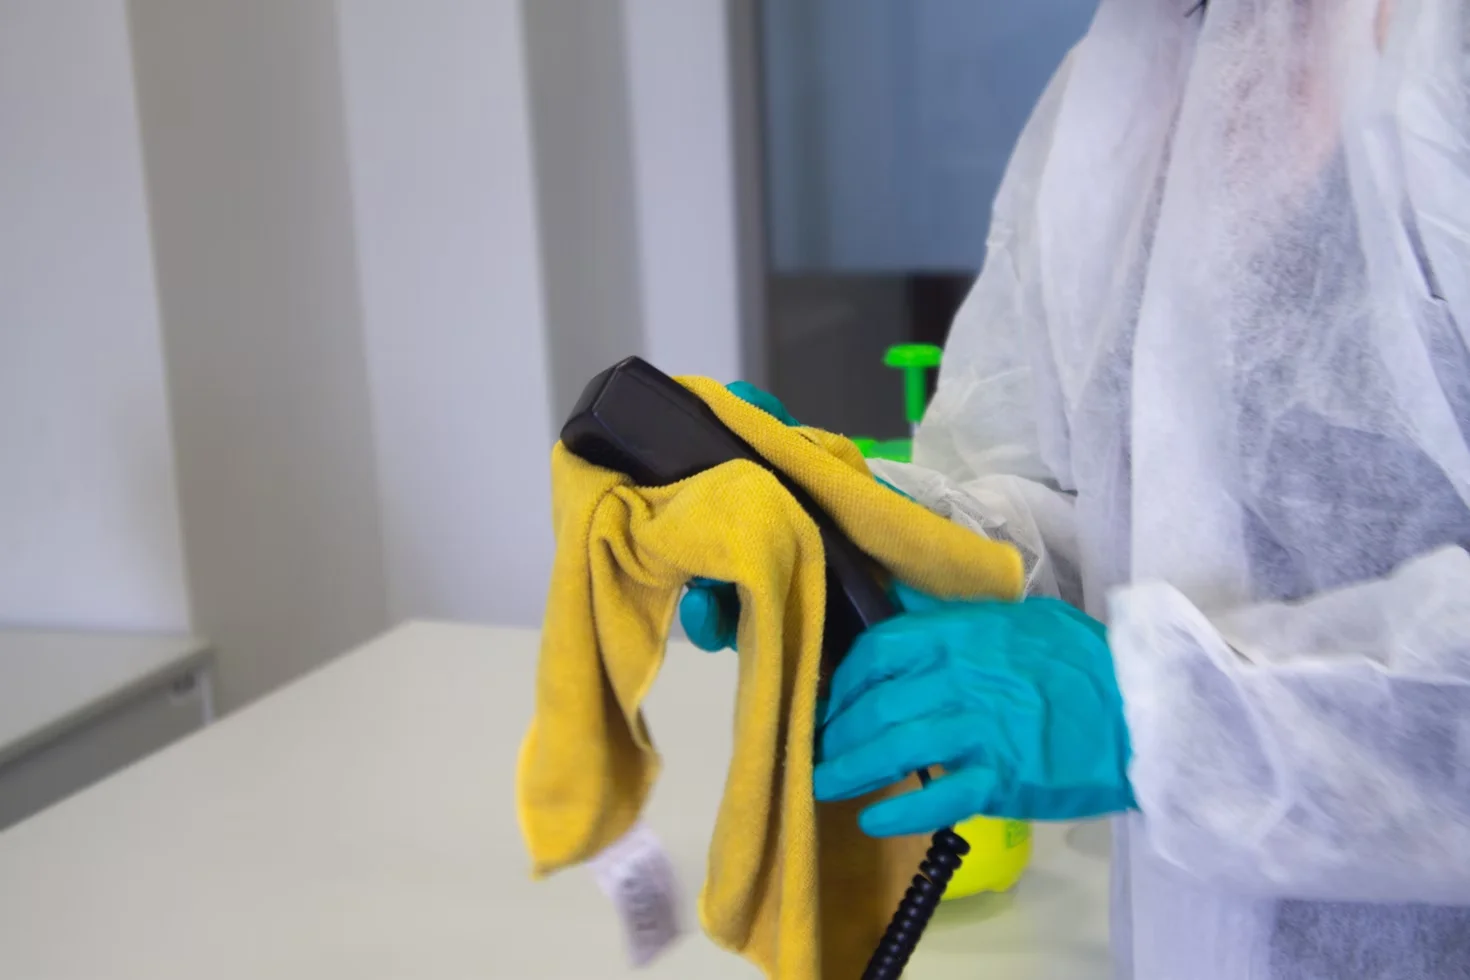
Tips On How To Clean Your Walls And Ceilings


Cleaning walls and ceilings is an essential requirement in every home. You can get your walls cleaned after painting or after a while.
It’s easy to dust every wall and ceiling; however, it’s hard to wash all of them because of the paint finish.
WHY IS THE TYPE OF PAINT NECESSARY?
Before washing, you should understand the paint you use on your walls and ceilings. Using flat paint, you must repaint it because cleaning may require specialized procedures and tools.
Washing flat paint will remove dirt, but it will also remove the colour from the walls and ceiling. However, walls or ceilings painted with a gloss, semi-gloss or satin finish can be washed and cleaned regularly.
If your walls are wallpaper, be careful not to wash them because most are made of vinyl material. Understanding your wallpaper walls’ materials is essential to avoid destroying them by loosening or breaking them down during washing.
CHALLENGES YOU MIGHT FACE WHEN YOUR WALLS AND CEILINGS
Before washing your walls and baseboards, you must remember that you can meet some challenges along the way.
This should not discourage you but help you get prepared to face them if they happen;
Using wrong tools and supplies: if you use the wrong cleaning tools, you might tamper with paint, which might cast you a lot.
Destroying pictures, mirrors, artworks and any other items hanging on your wall
Furniture near the walls
Poor lighting
Ceiling fans and chandeliers
So, are you ready to wash your walls?
STEP 1: GET READY TO WASH
Have you researched your walls, and have you understood them better? If your answer is yes, following the steps below will help you get ready to wash your walls.
GATHER THE TOOLS YOU NEED TO CLEAN YOUR WALLS AND CEILINGS.
Gathering the right wall and ceiling cleaning supplies and tools is very important. If you don’t want to start cleaning, then realize halfway through that, you lack some of the crucial tools to finish the task or run out of the cleaning agents like soap before finishing.
The list of tools below should help you get the work done;
Two buckets: One for washing and another for rinsing.
Sponges: Opt for a sea sponge; it’s gentle on paint compared to an artificial sponge.
A toothbrush: It will help you clean the nooks and crannies.
Cleaner: Use a soap product that requires less or no rinse. It will save you time and energy spent rinsing the walls after washing.
A pair of rubber gloves and mitts: protect your hand and fingers from germs.
Goggles: For the ceiling work.
A ladder or two step-stool: If the ceiling and walls are too high for you.
Duster: For dusting, use gentle and high-quality ones like ostrich feathers to dust your walls and ceilings before washing.
Mop and rugs: To clean the floor when done. They are essential, especially if water drips or remains.
PREPARE YOUR WALLS AND CEILINGS BEFORE WASHING
This list will help you get your walls and ceiling ready to be washed.
Remove Items hanging on the walls: Mirrors, picture frames, artwork, etc. You must be careful when cleaning walls with items depending on them. Likewise, you must be cautious when cleaning walls with things hanging on them. If you cannot remove them, contact a professional and be keen not to damage them in the cleaning process.
Cut off the current: Remember to turn off the current to any ceiling fans or chandeliers before you begin washing.
Move furniture near your walls: You can easily damage the furniture near the walls if you are not careful. If you are cleaning alone, moving some of the tables can be hard hence asking for help to avoid destroying them.
Once you remove items on and near the walls, it’s time to start washing. To wash effectively, you must start from the top to the bottom, passing the ceiling first and then proceeding to the walls.
So, how do you wash your ceiling and walls?
STEP 2: WASH YOUR CEILING AND WALLS
So, do you feel ready to wash? Below is a detailed list of how to clean your walls and ceilings.
HOW TO WASH YOUR CEILING
Mix your cleaner with hot water in the bucket.
Put your rubber gloves on. Use a duster to dust the ceiling well before you start washing.
Then dip the cleaning sponge into the hot water and squeeze it to prevent water from dripping on the walls and floors.
Wear your goggles to prevent soapy water from dripping into your eyes.
Use your ladder or step stool to get close to the ceiling. It will help you reduce the stretching, which might tire you and make washing hard.
Start from one corner. Scrub around a three-foot square area of your ceiling using a circular motion.
Rinse it well before moving to the next. Then, repeat the process until completely done.
If you have baseboards, clean a stretch of the baseboard three or four feet long until you finish it.
Once you finish the ceiling, it’s time to proceed to the walls. Use the list below to get the work done.
HOW TO WASH YOUR WALLS
Dust the walls well to remove dust.
Using soapy clean hot water, begin scrubbing your walls in a circular motion. Next, use a mop to wash your walls. Start from the top, working on a four-foot square area before moving to the next.
Use the toothbrush to scrub the hard-to-reach areas around corners, switchplates and where the walls meet the baseboard.
Rinse the walls and the sponge well. Remember to rinse very often to achieve desirable results.
When the area near the top is done, continue scrubbing another four-foot area slightly below the one you just finished until you finish the whole wall.
Once you have finished washing the walls, rinse them well from top to bottom to ensure no dirty water drips on the walls.
CONCLUSION
Washing your walls and ceiling is a beautiful way to keep your house clean and tidy. You kill germs and disease-causing bacteria, keeping your family safe.
When washing your ceiling, be careful around the ceiling fans and chandeliers because water is a good conductor of electricity. Also, if you forget to switch off the fans, your fingers can easily get sliced up.
If you put the masking tapes on the walls, you will know where the nails are to avoid being hurt. Otherwise, you will need to be extra careful.
After washing, it’s also essential to clean the floors to remove any dust or stain caused by dust falling into the ground during dusting or water dripping while washing. A deep-cleaning service can typically handle this or eliminate all fine dust in all the hard-to-reach places.
You might also like...
Green Eco-Friendly Cleaning Guide
May 4, 2023 Home CleaningGreen Eco-Friendly Cleaning Guide
Clean Your Car and Home: A Time-Saving Guide
Jul 10, 2024 Home CleaningClean Your Car and Home: A Time-Saving Guide
What Is a Home Deep-Cleaning Service?
Apr 19, 2023 Home CleaningWhat Is a Home Deep-Cleaning Service?
How to Prepare for Moving In and Out Guide
Dec 5, 2025 Home CleaningHow to Prepare for Moving In and Out Guide
How to Clean Hardwood & Timber Floors Like a Pro
Dec 5, 2025 Home CleaningHow to Clean Hardwood & Timber Floors Like a Pro
Window Cleaning Guide: Services, Methods & DIY Tips
Dec 2, 2025 Home CleaningWindow Cleaning Guide: Services, Methods & DIY Tips
