How to Clean a Beauty Blender (and When to Replace It)
By Lorna Beaulieu · · 11 min read
Key Takeaways
- Rinse your sponge with soap and water after every use.
- Deep clean it with a 10 to 20 minute soak once a week.
- Let it dry fully in the open. Never store it damp.
- Replace your sponge every 3 months.
- Skip the microwave hack. It can burn the sponge.
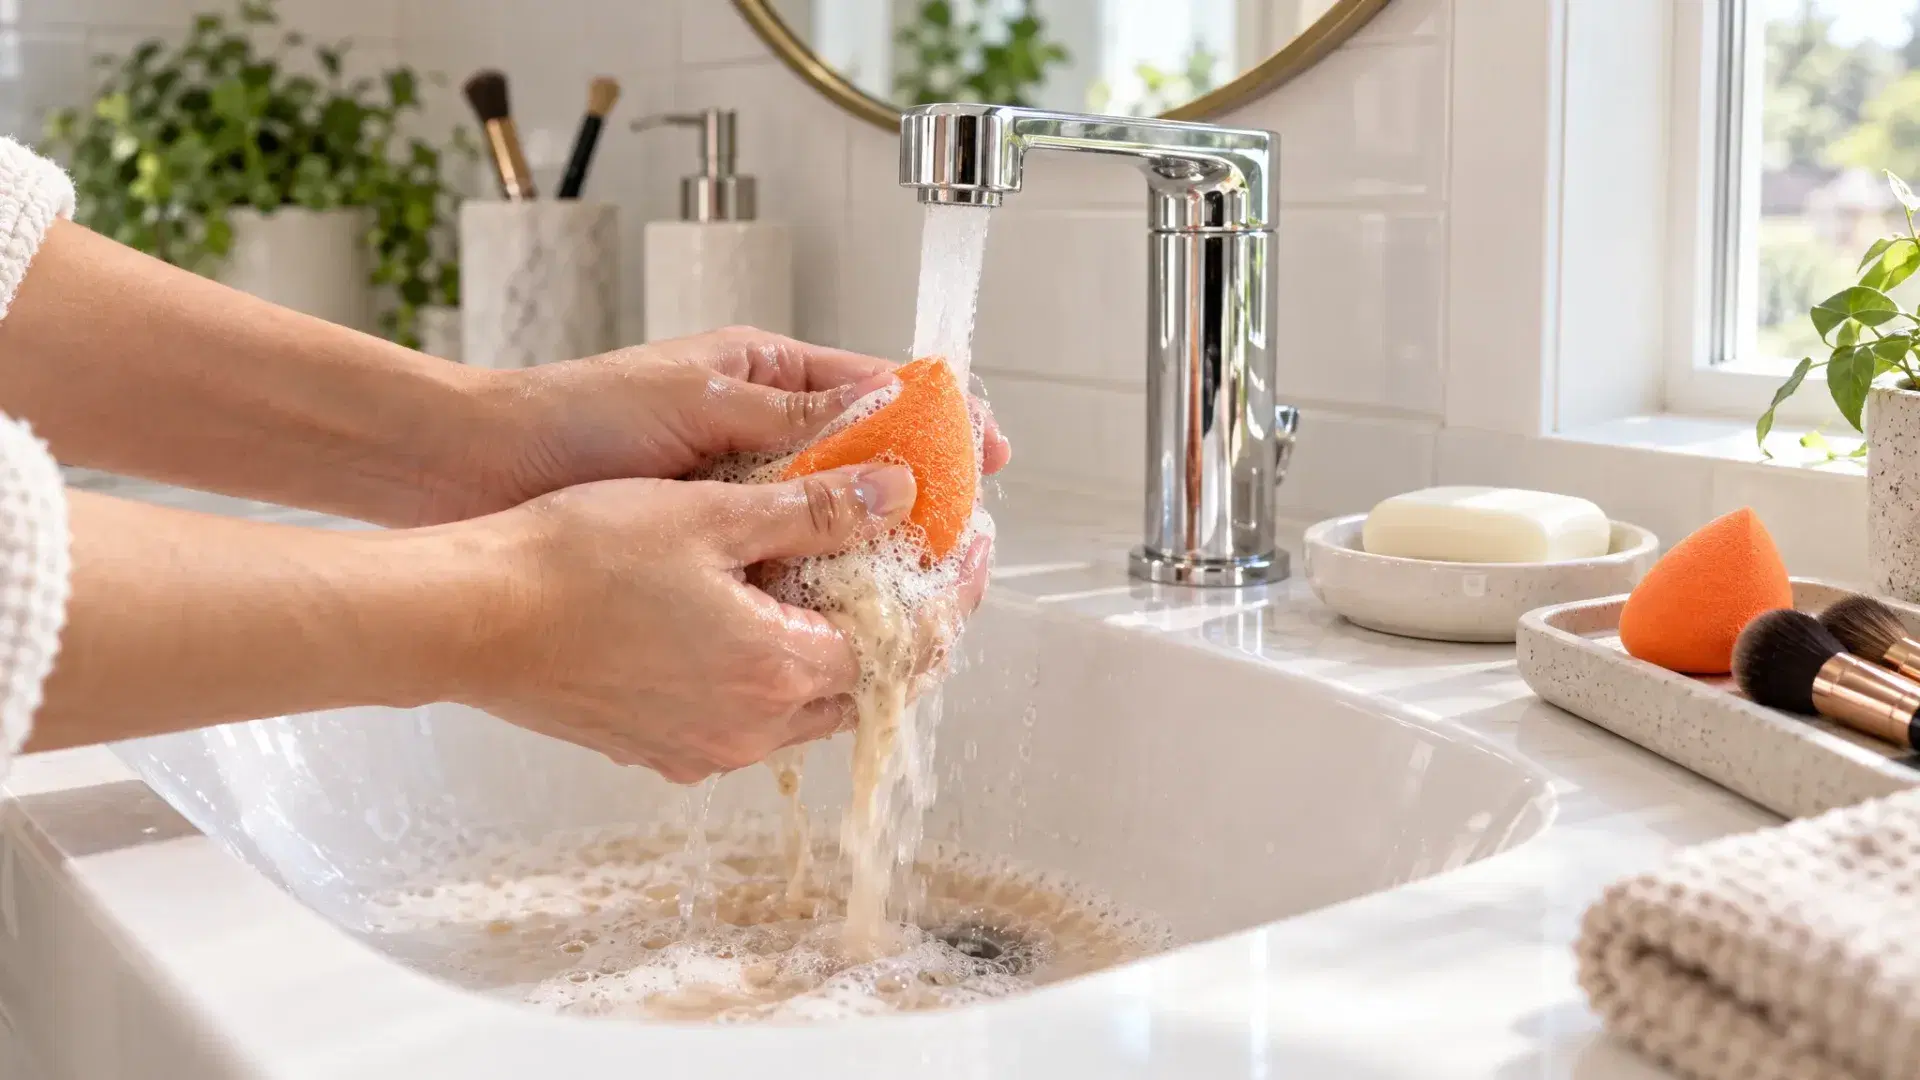
To clean a beauty blender, wet it under warm running water until it swells. Rub a little gentle soap or sponge cleanser into it. Squeeze and massage it under the tap until the water runs clear. Then squeeze out the extra water, pat it dry with a clean towel, and let it air dry in an open spot. The American Academy of Dermatology says to clean makeup sponges after every use.
Most people don't. In a large UK study from Aston University, researchers found that 93% of people had never cleaned their beauty blender. Those sponges also carried the highest levels of harmful bacteria of any makeup item tested. This guide shows the quick daily rinse, the weekly deep clean, how to remove stubborn foundation stains, and when to throw a sponge out. Ezi Home Services books house cleaning in Ottawa, Toronto, Montreal, and other cities, and a clean vanity starts with the small things you use every day.
Why a dirty beauty blender is a problem
A makeup sponge is soft, full of tiny holes, and usually damp. That's great for blending foundation. It's also great for growing germs.
Every time you use it, the sponge picks up:
- Makeup, which is often oily or creamy.
- Oil and dead skin from your face.
- Bacteria from your skin and hands.
Then most people put it back in a makeup bag or drawer while it's still wet. A warm, dark, damp space is exactly where bacteria and mould grow best.
The Aston University study, published in the Journal of Applied Microbiology, tested 467 used makeup products. That included 79 blender sponges. About 9 in 10 products carried bacteria such as E. coli and Staphylococcus. The sponges were the worst. The researchers pointed to one main reason: sponges are often left damp after use. The same study found that 64% of sponge users had dropped theirs on the floor and kept using it without washing it.
For most healthy people, this means breakouts and irritation. But the researchers warned that these germs can cause infections if they get into the eyes, the mouth, or a cut. The risk is higher for people with weak immune systems.
What you need
You don't need special products. Here's the basic kit:
- Warm running water.
- A gentle cleanser. Options include a mild, unscented bar soap, baby shampoo, gentle dish soap, or a sponge cleanser.
- A clean towel or paper towel.
- A small bowl, for soaking.
- Olive oil, for stubborn foundation stains. This one is optional.
Skip these: bleach, harsh all-purpose sprays, rubbing alcohol, and strong fragrances. They can dry out the sponge, break it down, and irritate your skin the next time you use it.
How to clean a beauty blender after each use
This takes about one minute.
Step 1: Wet it
Run the sponge under warm water. Squeeze it a few times until it swells to full size. A wet sponge releases makeup much more easily.
Step 2: Add cleanser
Rub a small amount of gentle soap or cleanser into the stained area. If you use bar soap, rub the sponge right on the bar.
Step 3: Massage it
Squeeze and massage the sponge with your fingers. The American Academy of Dermatology suggests about 15 seconds in warm, soapy water. You'll see makeup coming out in the foam.
Step 4: Rinse until clear
Rinse under running water while you keep squeezing. Keep going until the water runs clear and no soap is left. Leftover soap can irritate your skin.
Step 5: Squeeze out the water
Squeeze, don't wring or twist. Twisting can tear the sponge. Then press it gently inside a clean towel to soak up more water.
Step 6: Air dry in the open
Set the sponge on a clean paper towel or a drying stand with lots of airflow. Turn it once or twice so all sides dry. Never put it away damp. That's the biggest mistake, and it's the reason sponges grow so many germs.
How to deep clean a beauty blender (once a week)
Even with daily rinsing, foundation builds up inside the sponge. A weekly deep clean gets it out.
- Fill a small bowl with warm water and a few drops of gentle soap or baby shampoo.
- Wet the sponge and drop it in.
- Squeeze it in the water several times so it soaks up the soapy mix.
- Let it soak for 10 to 20 minutes.
- Take it out and massage it under running water.
- Rinse until the water runs clear.
- Squeeze it dry, press it in a towel, and air dry it in the open.
If the sponge still looks stained, repeat once. A little colour left behind is normal for a sponge you've used for a while. A clean sponge doesn't have to look brand new. It has to be free of built-up makeup and smell.
How to get foundation stains out of a beauty blender
Long-wear and oil-based foundations are the hardest to remove. Water alone won't break them down. Here's a trick makeup artists use: oil lifts oil.
- Squeeze a few drops of olive oil onto the stained spot of a dry sponge.
- Massage it in to break down the makeup.
- Wet the sponge and add your normal soap.
- Massage and rinse until the water runs clear.
- Repeat the soap step to remove all the oil.
Remove every trace of oil before you use the sponge on your face again, especially if you have oily or acne-prone skin.
Should you microwave a beauty blender?
It's better not to. You've probably seen the online hack. You put the sponge in a cup of soapy water and microwave it for a minute. The brand that makes the original Beautyblender doesn't recommend it.
Here's why:
- It can burn the sponge. If the water boils off, the sponge can scorch, melt, or even catch fire.
- The water gets very hot. You can scald your hands when you take it out.
- It breaks down the sponge faster. Heat damages the foam over time.
Plain soap, water, and a full dry do the job without the risk.
How often should you clean and replace a beauty blender?
| Task | How often |
|---|---|
| Rinse with soap and water | After every use |
| Deep clean with a soak | Once a week |
| Replace the sponge | Every 3 months |
| Replace right away | If it smells, tears, or shows mould |
Replace your sponge every 3 months, even if you clean it well. Sponges break down over time. Small tears and crumbling foam give germs more places to hide.
Throw it out right away if:
- It has dark spots that don't wash out. That may be mould.
- It smells musty or sour, even after cleaning.
- It's torn, crumbling, or has lost its shape.
- You've had a skin infection, like an eye infection or a cold sore, while using it.
The underused angle: drying matters more than washing
Most cleaning guides focus on soaps and tricks. But the Aston study pointed to the real problem: moisture. Sponges stood out because they're often left damp after use. A damp sponge in a closed bag can grow bacteria and mould between uses, even if you washed it.
That changes how you should think about cleaning. A quick wash followed by a full dry is better than a deep clean followed by tossing the sponge in a bag wet.
Here's how to dry it well:
- Squeeze out as much water as you can. Then press it in a clean towel.
- Dry it in the open. Use a stand, a wire rack, or a clean paper towel. Not a closed bag, drawer, or the plastic case it came in.
- Give it time. A full sponge can take several hours, or even overnight, to dry inside.
- Keep it away from the shower. Bathrooms stay humid. If yours has poor airflow, dry the sponge in a bedroom instead.
- Own two sponges. Use one while the other dries. That way you never use a damp one.
This is the same reason bath towels start to smell. A towel that never fully dries grows mildew. Our guide on how to get mildew smell out of towels explains the same problem in the laundry room.
What about makeup brushes?
Brushes collect the same oil, makeup, and bacteria. The American Academy of Dermatology says to clean makeup brushes every 7 to 10 days.
- Wet the bristles under lukewarm water, pointing down.
- Rub a drop of gentle soap into the bristles.
- Rinse until the water runs clear.
- Squeeze out the water and reshape the bristles.
- Lay the brushes flat to dry, with the bristles hanging off the edge of a counter.
Don't stand brushes up to dry. Water runs into the base and can loosen the glue that holds the bristles in.
Methodology
Contamination data comes from an Aston University study published in the Journal of Applied Microbiology, as reported by Safety+Health magazine. Cleaning frequency for sponges and brushes comes from the American Academy of Dermatology. Replacement timing reflects common dermatologist and makeup brand guidance. Microwave advice reflects the Beautyblender brand's own guidance. Always follow your sponge maker's care instructions first.
Keep the whole bathroom clean
A clean sponge is a good start. But your makeup sits on a counter, next to a sink, in the most humid room in your home. Bathrooms are where germs, soap scum, and mould grow fastest.
A regular general house cleaning keeps the bathroom counter, sink, and mirror clean every visit. For built-up grime, a deep clean covers the shower, tub, and grout too. You can book with Ezi in a few taps, with an upfront price and a set arrival window.
The bottom line on cleaning a beauty blender
Rinse your sponge with warm water and gentle soap after every use. Massage it until the water runs clear, squeeze it dry, and let it air dry in the open. Deep clean it with a soak once a week. Use olive oil to break down stubborn foundation.
Skip the microwave. Never put a damp sponge in a bag. Replace it every 3 months, or sooner if it smells, tears, or shows dark spots. For the rest of the room, see how to deep clean a bathroom.
How To
- 1Wet itRun the sponge under warm water and squeeze it until it swells to full size.
- 2Add cleanserRub a small amount of gentle soap or sponge cleanser into the stained area.
- 3Massage itSqueeze and massage the sponge for about 15 seconds so makeup comes out in the foam.
- 4Rinse until clearRinse under running water while squeezing until the water runs clear and no soap is left.
- 5Squeeze out the waterSqueeze, don't twist, then press the sponge in a clean towel.
- 6Air dry in the openSet it on a clean paper towel or stand with good airflow and let it dry fully before storing.
Frequently Asked Questions
How do you clean a beauty blender?
Wet it under warm water until it swells. Rub in a little gentle soap. Squeeze it under the tap until the water runs clear. Then squeeze it dry and let it air dry in the open.
How often should you clean a beauty blender?
Clean it after every use. The American Academy of Dermatology says sponges should be cleaned each time. Do a deeper soak once a week.
How often should you replace a beauty blender?
Replace it every 3 months, even if you clean it well. Throw it out sooner if it smells, tears, or has dark spots that won't wash out.
Can you microwave a beauty blender to clean it?
It's better not to. The brand that makes the Beautyblender doesn't recommend it. The sponge can scorch or melt if the water boils off.
How do you get foundation out of a beauty blender?
Rub a few drops of olive oil into the dry stain. Then wet it, add soap, and rinse until the water runs clear. Repeat the soap step to remove the oil.
Do dirty makeup sponges really carry bacteria?
Yes. A UK study found blender sponges carried the most harmful bacteria of any makeup item tested. Most had never been cleaned and were left damp.
beauty blender
makeup sponge
makeup brushes
bathroom hygiene
personal care
Written by
Home Cleaning · Maintenance
Lorna has spent years in residential cleaning and home maintenance, from move-in/move-out deep cleans to seasonal upkeep routines that actually hold up. She writes about the small, practical habits that keep a home running smoothly between professional visits.