How to Clean and Sterilize Baby Bottles: A Safe, Step-by-Step Guide
By Lorna Beaulieu · · 13 min read
Key Takeaways
- Sterilize bottles until your baby is at least 4 months old.
- Boil clean parts in a covered pot for 2 minutes.
- Wash bottles in a basin. Don't use the kitchen sink.
- Let each part dry fully before you put it back together.
- Get new nipples every 2 to 3 months, or right away if cracked.
To clean and sterilize baby bottles, take every part apart. Wash it in hot, soapy water in a clean basin, not in the sink. Scrub with a bottle brush, rinse well, then boil the parts in a covered pot for 2 minutes. Let them air dry on a clean rack. Canadian health units say to sterilize until your baby is at least 4 months old.
That's the short answer. The longer answer is about the small details that most guides skip. Where you wash. How you dry. When you can stop boiling. Those details matter because a baby's immune system is still weak in the first few months. Germs that wouldn't bother you can make a newborn very sick. This guide walks through each method, step by step. It uses advice from Canadian health units. Ezi Home Services books house cleaning in Ottawa, Toronto, Montreal, and other cities. A clean kitchen is your first defence for every bottle you make.
Why sterilizing baby bottles matters
Milk is a perfect food for bacteria. A thin film of formula or breast milk left in a bottle, nipple, or pump part gives germs everything they need to grow. Warm rooms and damp parts make it worse.
One germ gets special attention: Cronobacter. It is rare. But it can cause serious blood and brain infections in newborns. Some babies face the most risk, says Health Canada. That means babies under 2 months, babies born early, and babies who get sick easily. Cronobacter can live in powdered formula, but it can also live on kitchen surfaces and in drains.
Cleaning removes milk and dirt. Sterilizing kills the germs that cleaning leaves behind. For young babies, you need both.
When can you stop sterilizing baby bottles?
Sterilize all feeding gear until your baby is at least 4 months old. That's the advice from health units like the Eastern Ontario Health Unit and Healthy Parents, Healthy Children.
After 4 months, the rule changes. You can wash bottles in hot, soapy water before and after each use. Or you can run them through the dishwasher. You no longer need to boil them, as long as your baby is healthy.
Keep sterilizing past 4 months if:
- Your baby was born early or had a low birth weight.
- Your baby has a weak immune system or a health condition.
- Your doctor or nurse tells you to.
- You're using well water that hasn't been tested.
Ask your doctor or nurse if you're not sure. They know your baby's history.
What you need
You don't need fancy gear. Here's the basic kit:
- A clean wash basin or large bowl, used only for baby items.
- Dish soap.
- A bottle brush and a nipple brush.
- A large pot with a lid.
- Clean tongs.
- A clean drying rack or fresh paper towels.
Electric steam sterilizers and microwave steam bags are handy. But you don't need them. A pot of boiling water does the same job for free.
How to clean baby bottles, step by step
Cleaning comes first. You can't sterilize a bottle that still has milk film inside. Do these steps after every feed.
Step 1: Wash your hands and the counter
Wash your hands with soap and water for at least 20 seconds. Wipe down the counter where you'll set clean parts. Toronto Public Health suggests a mild bleach mix for the counter. Use 5 mL (1 teaspoon) of bleach in 750 mL (3 cups) of water.
Step 2: Take everything apart
Pull apart every piece: bottle, nipple, ring, cap, and any valves or vents. Milk hides in the threads and under the valves. Rinse each part under cool running water right after the feed. Cool water stops milk proteins from sticking.
Step 3: Wash in a clean basin
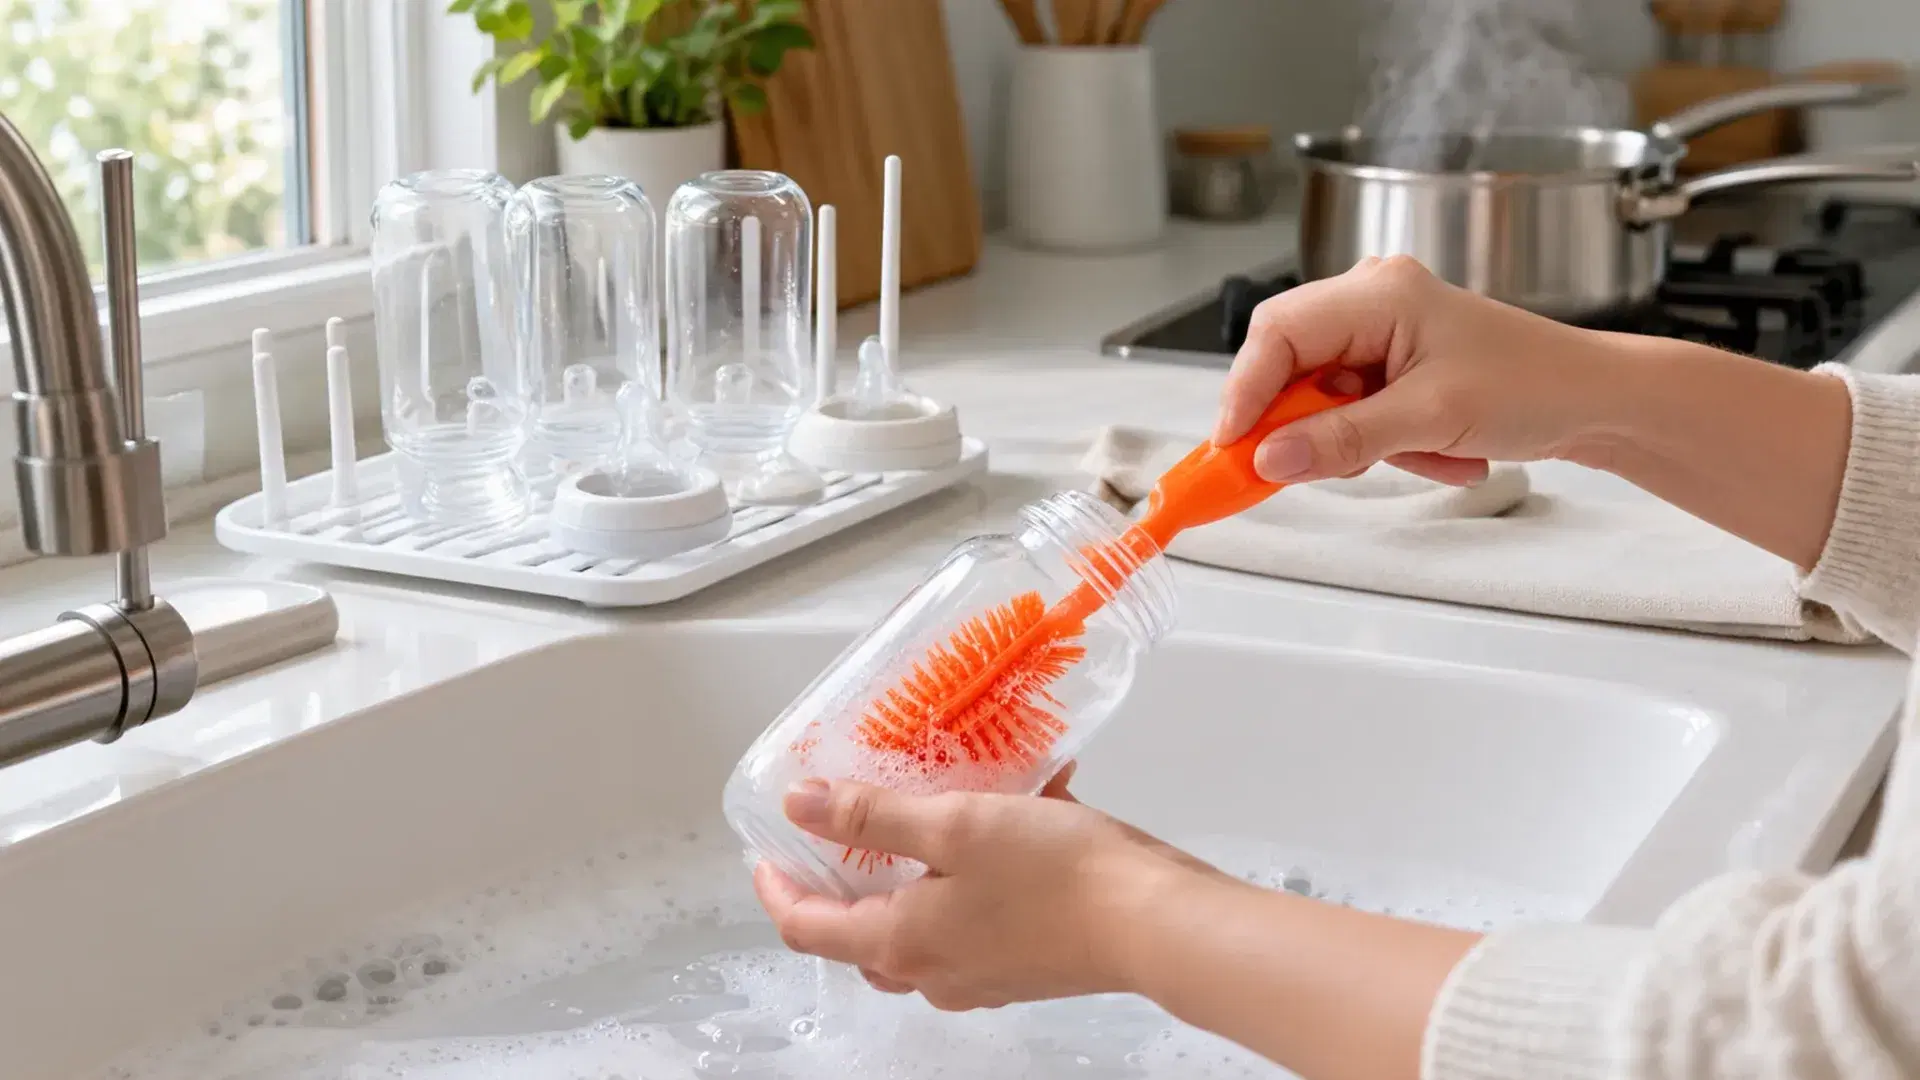
Fill a clean basin with hot water and dish soap. Don't put bottles straight into the kitchen sink. Sinks and drains carry a lot of germs. That's why the US CDC says to use a separate basin for baby items.
Step 4: Scrub every part
Use the bottle brush on the inside of the bottle, including the bottom corners. Use the small brush on the nipple. Squeeze soapy water through the nipple hole to make sure it's clear. Scrub the threads on the ring and bottle neck.
Step 5: Rinse well
Rinse each piece under clean running water. Make sure no soap is left. Leftover soap can change how milk tastes. Some babies will refuse it.
How to sterilize baby bottles: 4 methods
Once the parts are clean, pick one way to sterilize them.
Method 1: Boiling (free and reliable)
This is the method most Canadian health units describe:
- Put the clean parts in a large pot.
- Fill the pot with water so every part is fully under.
- Push out any air bubbles trapped inside bottles.
- Bring the water to a rolling boil.
- Boil for 2 minutes.
- Keep the pot covered until you need the items.
- Take the parts out with clean tongs.
Some US sources say to boil for 5 minutes. Canadian health units say 2 minutes is enough. Either works. Boiling longer won't hurt glass, but it can wear out plastic and silicone faster.
Method 2: Electric steam sterilizer
Steam units use high heat. They kill germs in about 6 to 15 minutes. Follow the maker's steps. Put bottles upside down so steam can reach inside. Don't open the lid early. Hard water leaves scale. Clean it out with vinegar every few weeks.
Method 3: Microwave steam bag or sterilizer
Add the amount of water listed on the bag or unit. Put in the clean parts and microwave for the listed time. Let it cool before you open it. Steam can burn you. Open it away from your face. Make sure every part is marked safe for the microwave. Never put metal parts in the microwave.
Method 4: Dishwasher with a sanitize cycle
A normal dishwasher cycle cleans but does not sanitize. Health units are clear on this. For babies under 4 months, you need the sanitize or high-heat cycle.
Look for a dishwasher certified to NSF/ANSI Standard 184. With that mark, the last rinse gets to at least 66°C (150°F), says the Association of Home Appliance Manufacturers. The certified models also cut bacteria by 99.999%.
Put small parts like nipples and valves in a closed basket on the top rack. Then they won't fall onto the heating element and melt. Want to clean the machine itself? See how to clean and deep-clean your dishwasher.
How to dry and store clean bottles
This is the step most parents skip, and it matters as much as the boiling.
Let everything air dry fully. Don't wipe bottles with a dish towel. Towels carry germs from hands and counters. Set the parts upside down on a clean rack or fresh paper towels, away from the sink.
Don't put parts together while damp. Water left in a closed bottle or pump kit lets germs grow. Wait until every piece is fully dry.
Store parts in a clean, covered spot. A clean container with a lid, or a sealed bag, works well. Keep them away from sink splashes.
Clean the drying rack and bottle brushes too. Wash them every few days and let them dry. A brush that stays wet in a cup can grow mould.
The underused angle: the kitchen sink is the weak spot
Most bottle guides focus on boiling times. But a real case from the US CDC points to a different problem.
In 2016, a premature baby in Pennsylvania got a serious Cronobacter infection. The baby had been fed expressed breast milk. Health workers traced the germ to the parent's breast pump parts. The same germ was in 11 frozen milk samples from that pump. The pump parts had been washed in the household sink, and they were sometimes put together while still wet.
The lesson is simple. The pot and the boiling time weren't the problem. The sink and the damp parts were. That's why health units stress three habits:
- Wash in a basin, not the sink. Use a basin only for baby items.
- Air dry fully before putting parts together.
- Clean the sink and drain often. Germs in the drain can splash onto clean items.
Keeping the drain clean is part of this. Our guide on how to unclog and deodorize a sink drain naturally shows an easy routine.
Cleaning breast pump parts
Breast pump parts need the same care as bottles. Every piece that touches milk should be taken apart, washed in a basin, rinsed, and dried after each use. That includes flanges, valves, membranes, and connectors.
The CDC says to sterilize pump parts at least once a day for young babies. Do it more often if your baby was premature or is sick. Check the pump maker's guide to see which parts you can boil. Tubing usually doesn't need washing unless milk gets into it. If it does, replace it or follow the maker's cleaning steps.
Preparing formula safely
Clean bottles are only half of safe feeding. The way you mix formula matters too.
Is your baby high-risk? Then Health Canada gives this advice for powdered formula:
- Boil the water, then let it cool to no lower than 70°C. That takes about 30 minutes in a covered kettle.
- Pour the water into a sterilized bottle, then add the powder.
- Cool the bottle quickly under cold running water.
- Test a few drops on your wrist. It should feel warm, not hot.
Water at 70°C or higher kills Cronobacter that may be in the powder. Some special formulas can't be mixed with hot water, so read the label.
Liquid ready-to-feed formula is germ-free until you open it. It's the safest choice for babies under 2 months, babies born early, and babies who get sick easily.
When to replace bottles and nipples
Even clean parts wear out. Check them each time you wash.
- Replace nipples every 2 to 3 months, or sooner if they're worn.
- Throw out any nipple that is cracked, torn, sticky, swollen, or thinning. A torn piece can break off and become a choking risk.
- Replace a nipple if milk pours out too fast. The hole has stretched.
- Replace plastic bottles if they're cracked, cloudy, or scratched. Germs can hide in scratches.
Boiling and steam wear down plastic and silicone over time. That's normal. It's one more reason to check parts often.
Methodology
Cleaning steps reflect advice from Canadian health units: the Eastern Ontario Health Unit, Toronto Public Health, and Healthy Parents, Healthy Children. Formula preparation advice comes from Health Canada. The case report comes from the US Centers for Disease Control and Prevention's Morbidity and Mortality Weekly Report. Dishwasher standards come from the Association of Home Appliance Manufacturers. Timing for new nipples reflects common maker advice. This guide is general advice. Always follow your doctor or nurse.
Keep the whole kitchen baby-ready
Bottle care is easier when the rest of the kitchen is clean. Clean counters, sinks, and drains mean fewer germs near your baby's feeding gear. In the first few months, a lot of parents just don't have the time.
That's where Ezi can help. Book a general house cleaning so the kitchen and bathrooms stay clean while you focus on the baby. Or book a deep clean before your due date. You can book with Ezi in a few taps, with an upfront price and a set arrival window.
The bottom line on cleaning baby bottles
Take every part apart. Wash it in a clean basin with hot, soapy water, not in the sink. Rinse well, then boil for 2 minutes, steam, or use the dishwasher's sanitize cycle. Let everything air dry fully before you put it back together.
Keep sterilizing until your baby is at least 4 months old, or longer if your doctor says so. Replace nipples every few months. For the rest of the room, see the fastest way to clean a kitchen from top to bottom.
How To
- 1Wash your hands and the counterWash your hands with soap and water for at least 20 seconds and wipe down the counter where you'll set clean parts.
- 2Take everything apartSeparate the bottle, nipple, ring, cap, and any valves or vents. Rinse each part under cool running water right after the feed.
- 3Wash in a clean basinFill a clean basin used only for baby items with hot water and dish soap. Don't wash bottles directly in the kitchen sink.
- 4Scrub every partUse a bottle brush inside the bottle and a small brush on the nipple. Squeeze soapy water through the nipple hole and scrub the threads.
- 5Rinse wellRinse each piece under clean running water until no soap is left.
- 6SterilizeBoil the clean parts fully under water in a covered pot for 2 minutes, or use a steam sterilizer, microwave steam bag, or the dishwasher's sanitize cycle.
- 7Air dry and storeLet every part air dry fully on a clean rack, away from the sink. Don't use a dish towel or put parts together while damp. Store in a clean, covered container.
Frequently Asked Questions
Until what age should you sterilize baby bottles?
Sterilize bottles until your baby is at least 4 months old. That's the advice from Canadian health units. Keep going longer if your baby was born early, gets sick easily, or your doctor says so.
How long do you boil baby bottles to sterilize them?
Boil clean bottle parts for 2 minutes, say Canadian health units. Make sure every part is under the water. Keep the pot covered until you need the items.
Does the dishwasher sterilize baby bottles?
A normal dishwasher cycle cleans but does not sterilize. For babies under 4 months, use the sanitize or high-heat cycle. After 4 months, a normal cycle is fine.
Do you need to wash bottles before sterilizing them?
Yes. Wash and rinse every part first, then sterilize. Sterilizing kills germs, but it can't remove dried milk film. Germs can hide under that film.
How often should you replace baby bottle nipples?
Replace nipples every 2 to 3 months. Throw one out right away if it is cracked, torn, sticky, or thin. A torn piece can be a choking risk.
How should you dry baby bottles after sterilizing?
Don't use a dish towel. Let bottles air dry upside down on a clean rack or paper towel. Wait until every part is fully dry before you put it together.
baby bottles
sterilizing
kitchen cleaning
new parents
food safety
Explore more
Written by
Home Cleaning · Maintenance
Lorna has spent years in residential cleaning and home maintenance, from move-in/move-out deep cleans to seasonal upkeep routines that actually hold up. She writes about the small, practical habits that keep a home running smoothly between professional visits.